Screen Grabs Using Windows' Snipping Tool
You are probably familiar with the idiom “a picture is worth a thousand words”. This is true in the business world as well, when you want to share a glimpse of what you are seeing on your screen with a coworker or possibly your IT Support. For many years, to accomplish this, users have been leveraging print screens to capture an image of their entire desktop. As you can imagine, print screen images could be confusing since they can be very large (especially if you have multiple monitors/displays) and contain more items then what you wanted to focus on. To resolve this limitation, Microsoft has provided a solution for allowing you to take an isolated screen shot called the Snipping Tool. This is a great feature that has been available since Windows 7 and we wanted to share some tips on this tool.
Accessing the Snipping Tool:
Use the search option next within the Windows Start. Simply select the Start button, type snipping tool in the search box on the taskbar, and then select Snipping Tool from the list of results. Here is an example from Windows 10:
Example of Start Menu search for Snipping Tool.
Capturing with the Snipping Tool:
In Snipping Tool, select New and the screen will be shaded. Using the left mouse button, drag over the area that you would like to select on the screen. Once you release the button, the capture will display in the Snipping Tool as well as instantly being saved to your clipboard so you are able to immediately paste the image in a document, paint, email, etc. 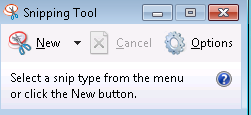
Example of first opening the snipping tool.
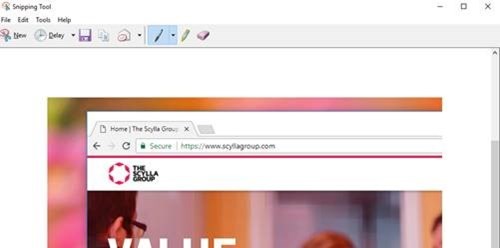
Example of after collecting an image with the snipping tool.
Additional Options:
The Snipping Tool has many additional options like a delay timer, pen or highlighter to mark the image, and saving the image. You can read more about these options in the following Microsoft article : https://support.microsoft.com/en-us/help/13776/windows-use-snipping-tool-to-capture-screenshots.
In conclusion, the Snipping Tool is a great way to capture specific details on your desktop in just a few simply clicks.
Related Articles