The old adage, a picture is worth a thousand words is very true in the business world. In our previous article Capture Areas On Your Screen Using Windows Snipping Tool | The Scylla Group, Inc., we introduced you to the Snipping Tool in Windows that allows you to create captures of the screen of your Windows PC. But what if you are away from your computer and you want to document or scan something? Well, Microsoft has an app for that called Microsoft Lens. The Microsoft Lens app allows you to “scan” paperwork, whiteboards, etc by using your mobile device's camera. Once the content is captured, you have the option of enhancing the image so you can convert it into a PDF, Word, or PowerPoint file. Lens also works with OneDrive to allow you to save these files directly to your company account so you can access them from your Windows PC.
A little skeptical about how Microsoft Office Lens can help you? Lets go through the process. First, you will need to download the Microsoft Office Lens app from the App Store or Google Play store (links below).
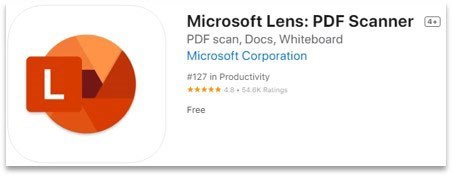
For Apple iOS Devices: Microsoft Lens: PDF Scanner on the App Store (apple.com)
For Android Devices: Microsoft Lens - PDF Scanner - Apps on Google Play
Once it is installed, launch Lens and go through the introductory wizard. Make sure to allow Camera access when prompted so the app can use the camera on your mobile device. You may also get a prompt regarding the access to photos; This is completely up to you on what you would like to allow. Now the application is in capture mode and the display is showing you a feed from your camera. Before capturing content, swipe to the left to change the dial for the best option for the content being captured. Here are some details:
After you select the best mode, point your camera at the content you want to capture making sure that the content is within the orange frames. Lens will attempt to capture the content automatically but you may be prompted to manually capture using the large circular button above the dial. After that Lens will present an image of the content that you captured and allows you to make adjustments to the Once you select Confirm, you have the option of adding additional pages (select the three … button option), applying a filter, cropping, rotating and even using a pen or text on the image. Below is an example of capturing the details from a printed letter using Len’s Document Option.
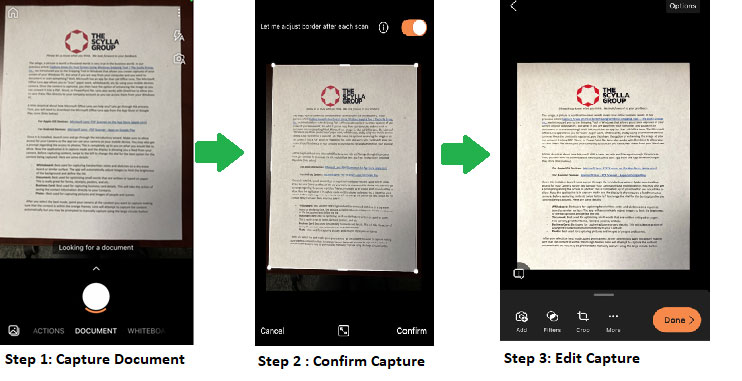
Once you are done making adjustments to the capture, you are then prompted with options on what type of file you would like to create (PDF, Word, PowerPoint, Photo, OneDrive, etc) and how you would like to Share the content (more apps shows the additional applications on your device). Just keep in mind, if you try to save to OneDrive, Word, or PowerPoint, you may be prompted to login with your company account. If you opt to save to OneDrive, the content will be stored in a folder called “Office Lens” in OneDrive. Below is an example of what the save options view looks like on iOS/iPhone. 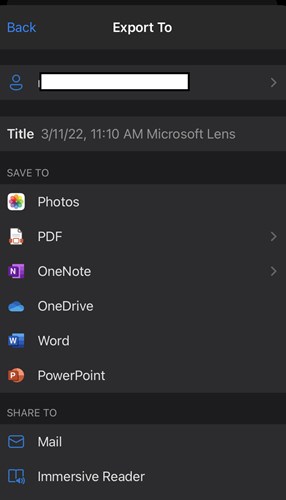
Example of Lens Saving Options
We understand many of you have encountered unique work environments since the pandemic and we hope that these tips and tricks help no matter where you are located.
Related Articles