As many of you are aware, email signatures are a fantastic way to add your contact and business information to the bottom of each of your emails. With Outlook, it is simple to add this feature through the Mail options (Here is an article on how to do this) but what if you are sending emails from your smart phone or tablet? In this edition of the Scylla IT Tips, we will give you the steps on how to apply signatures to your mobile device.
First, it’s good to know that that your signature is configured based off of the email account on the device and individual ones could be design to separate email accounts configured on your mobile device. This means you can follow the steps below and update the signature for your personal email accounts as well. Second, typically messages sent from your device will not carry over images or links so we recommend that you keep your signature “lite” with the essential information like name, phone, address, etc. Finally, if you are not confident in the your typing from your mobile device or have ran into auto-correct mistakes before, feel free to add a note in your signature that says “Sent from a mobile device, please excuse errors in typing”.
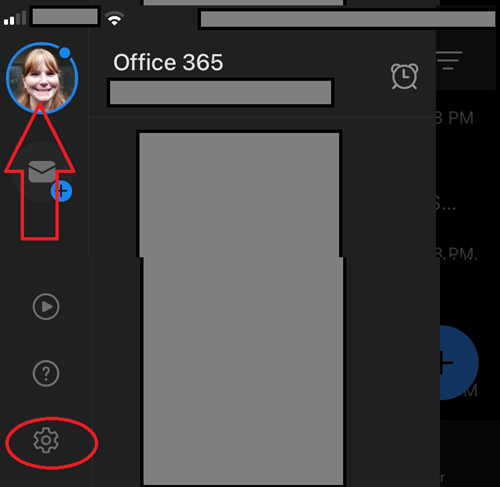
Now onto the steps to update your device. Please make sure to review the section based on your phone or tablet operating system.
Adding signatures in the Outlook App:
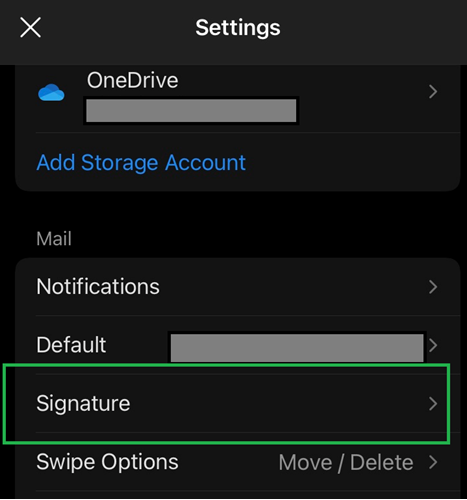
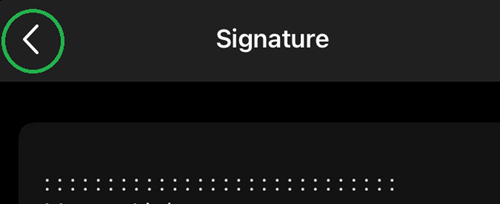
Adding signature on iOS devices (this includes iPhone and iPads):
Note: If you want your signature to appear after the original text of messages you reply to or forward, deselect the “Place signature above quoted text” checkbox.
Source: https://support.apple.com/guide/mail/include-a-signature-mail11943/mac
Adding signature on Android devices:
Source: https://www.pcworld.com/article/2052156/how-to-change-your-email-signature-on-your-smartphone.html
In conclusion, we hope you enjoy having the knowledge on how to use this is a great way to extend your contact information while you are away from your desk.