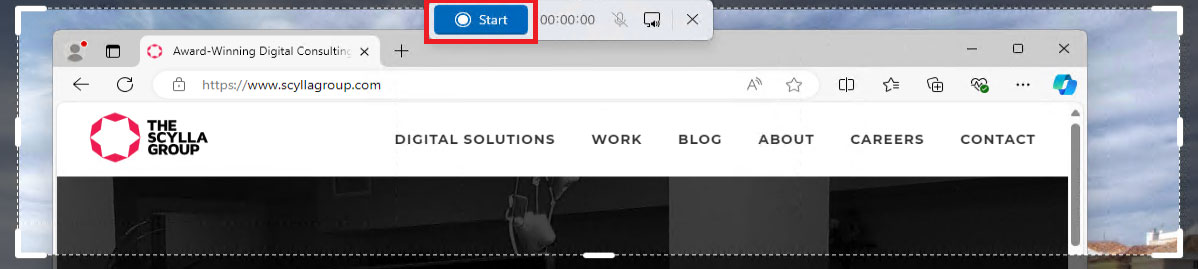
We are back with a new edition of Scylla Tips and Tricks! In this edition, we are going to re-introduce the Snipping Tool which has been updated for Windows 11. Our original article from 2018 about the Snipping Tool (Capture Areas On Your Screen Using Windows Snipping Tool | The Scylla Group, Inc.) is a great resource on steps about how to capture area of the your screen to create a picture in both Windows 10 and Windows 11. Microsoft has expanded the functionality of the Snipping Tool in Windows 11 with the option to create a video recording of your screen. Here are the steps on how you can create a recording:
Selecting both the Windows Key and L at the same time will immediately lock your screen. This is a great solution to leave all your applications running while ensuring no one can access your computer while you are away from your desk.


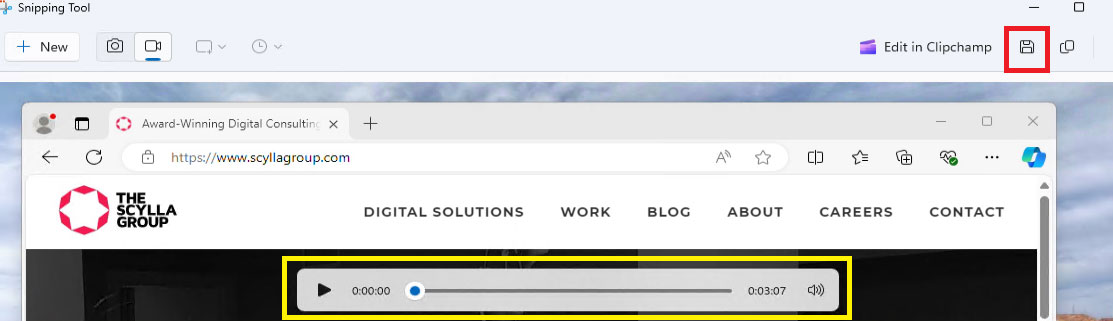
Another feature with this new version in Windows 11, the default settings are your automatically save the pictures or recordings to your profile; for screenshots/pictures the location is your user account Pictures\Screenshots folder and for recordings the location is your user account Videos\Screen Recordings folder.
Sources: How to Record Your Screen on Windows 11 | Microsoft Windows
The Windows Snipping Tool is a great way to capture specific details on your desktop in just a few simply clicks...
Keyboard shortcuts for Windows 10 & 11 to help you quickly proceed with common procedures without needing to use the mouse...
Keyboard shortcuts for Windows 10 & 11 to help you quickly proceed with common procedures without needing to use the mouse...


